Moltbot, previously known as Clawdbot, is an autonomous AI agent designed to run continuously and handle tasks without constant supervision.
It can message users, browse the web, remember context over time, and act as a long-running assistant instead of a single prompt tool.
This tutorial walks through the full setup process in a way that mirrors how people actually install and use Moltbot in practice.
Each step builds on the previous one, so nothing feels abstract or disconnected.
We will cover the process in four clearly numbered steps, so you always know where you are and what comes next.
The goal is to get Moltbot running inside Telegram and responding as an always-on assistant without guesswork or skipped configuration details.
1. Generate the required API keys and Telegram bot
This setup starts with three credentials that Moltbot needs to function properly. Each one serves a different role, so it helps to prepare them before touching the CLI or terminal.
First, generate a search key from the Brave Search API. Moltbot uses this to browse the web and fetch live information instead of relying only on its model memory.
The free tier is usually enough for testing and early usage.
Next, create a fresh AI model key from your preferred provider. Moltbot supports OpenAI, Claude, and Gemini, and it works best when the key is not reused across other projects.
This avoids rate limits and makes debugging easier later.
Finally, open Telegram and create a new bot using BotFather. Save the bot token it gives you.
This token links Moltbot to Telegram and allows it to send and receive messages once pairing is complete.
At the end of this step, you should have:
A Brave Search API key
One AI model API key
A Telegram bot token created via BotFather
2. Install Node.js and run the Moltbot onboarding wizard
With the credentials ready, the next step is preparing your local environment. Moltbot runs on Node.js, and version compatibility matters here.
Install Node.js v22 or higher. Once installed, confirm it is available by running node -v in your terminal. If the version is lower than 22, Moltbot may fail during setup or behave inconsistently.
After Node.js is installed, install the Moltbot CLI and launch the Quickstart onboarding wizard. This wizard guides you through the initial configuration instead of requiring manual config files.
During the wizard:
Enable Brave search when prompted and paste your Brave API key
Select Telegram as the communication channel
Paste the Telegram bot token you created earlier
Choose the AI model provider and insert its API key
Once the wizard completes, Moltbot initializes its core files and prepares itself for pairing. At this point, the agent exists locally but is not yet connected to Telegram as a live assistant.
Confirm everything is working by checking that the wizard exits without errors and that Moltbot reports a successful initialization state.
3. Initialize Moltbot and request the Telegram pairing code
With Moltbot installed and configured, the next step is to initialize the agent and link it to your Telegram bot.
This step confirms that Moltbot can identify itself and accept external messages.
Start the Moltbot intro wizard from your terminal. You will be asked to define a few core traits that shape how the agent behaves.
This includes its name, general tone, and default communication style. Keep these simple at first since you can refine them later.
Once the wizard finishes, Moltbot registers its identity and generates the internal pairing logic.
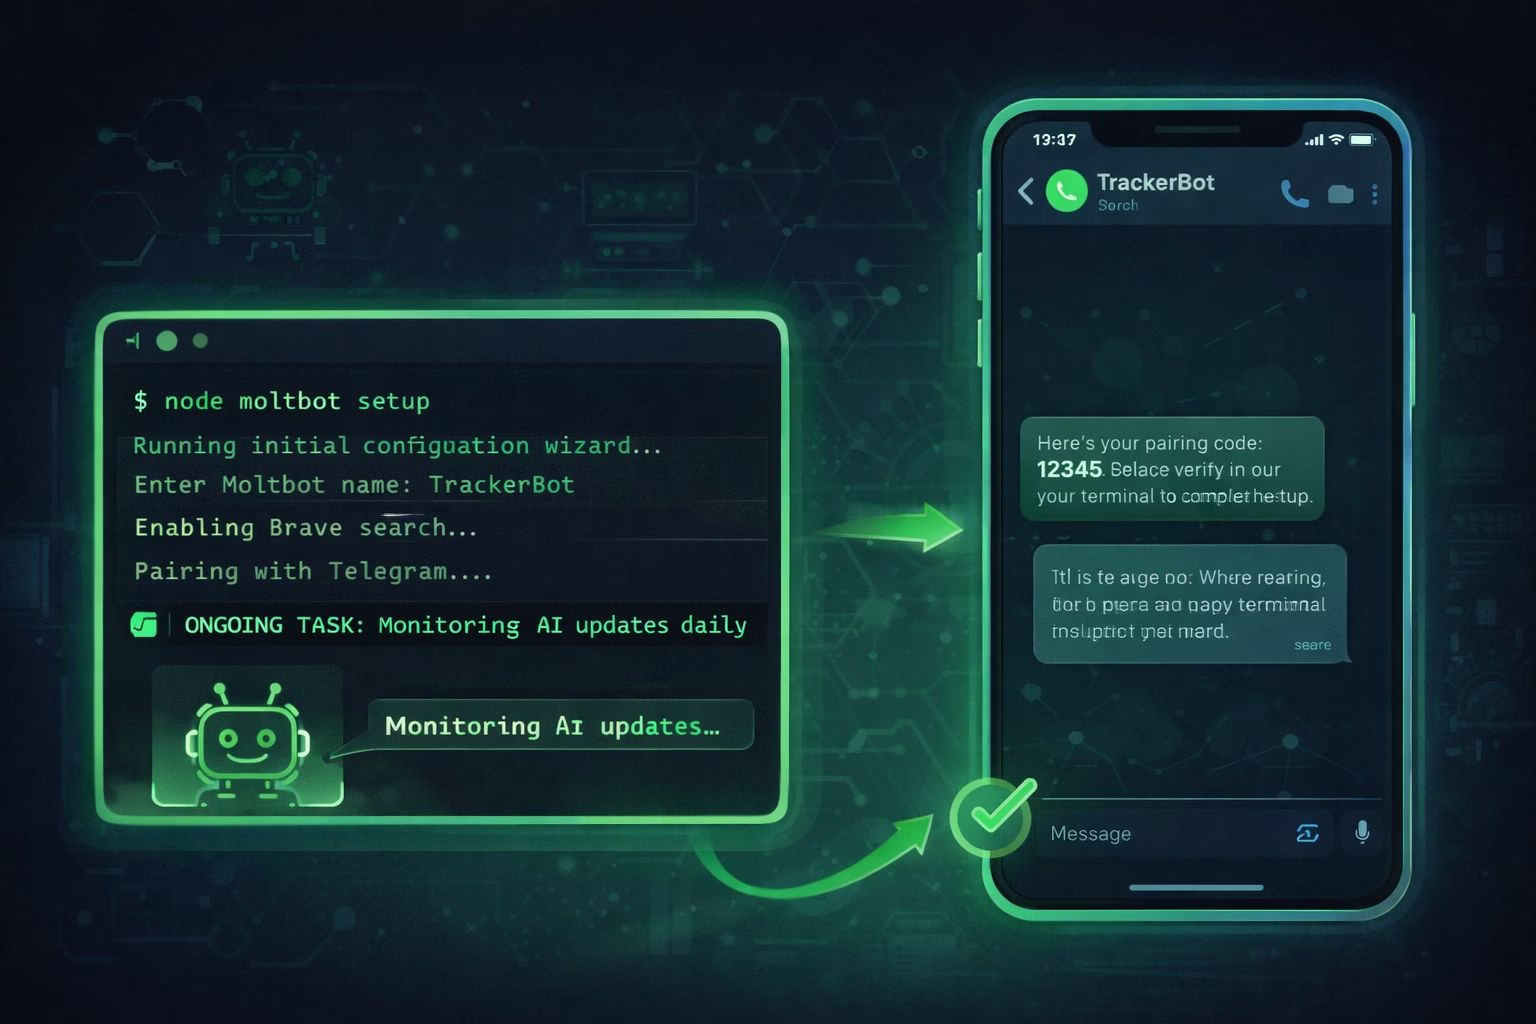
Open Telegram, search for the bot username you created earlier, and send it any message. Moltbot will reply with a pairing code.
That pairing code is temporary and tied to your current Moltbot session. Keep your terminal open and do not restart the process until pairing is approved.
4. Approve the pairing and start using Moltbot in Telegram
Return to your terminal and approve the pairing using the command Moltbot provides. This finalizes the connection between your local agent and Telegram.
After approval, Moltbot becomes active inside Telegram immediately. You can now chat with it like a regular bot, but it behaves differently from typical chatbots.
It keeps context, remembers past interactions, and continues running even when you are not actively messaging it.
At this stage, Moltbot is fully operational:
Messages sent in Telegram are processed by your local agent
Memory persists across sessions
Web browsing works through Brave search
Tasks can run without manual prompts
A practical tip is to install Moltbot on a secondary or clean machine first. Add skills gradually and observe how it behaves over time.
This keeps your main system isolated and makes troubleshooting far easier.
Common issues and how to fix them quickly
Most Moltbot problems happen during first setup and usually trace back to keys, versions, or pairing order.
Checking these early saves a lot of time.
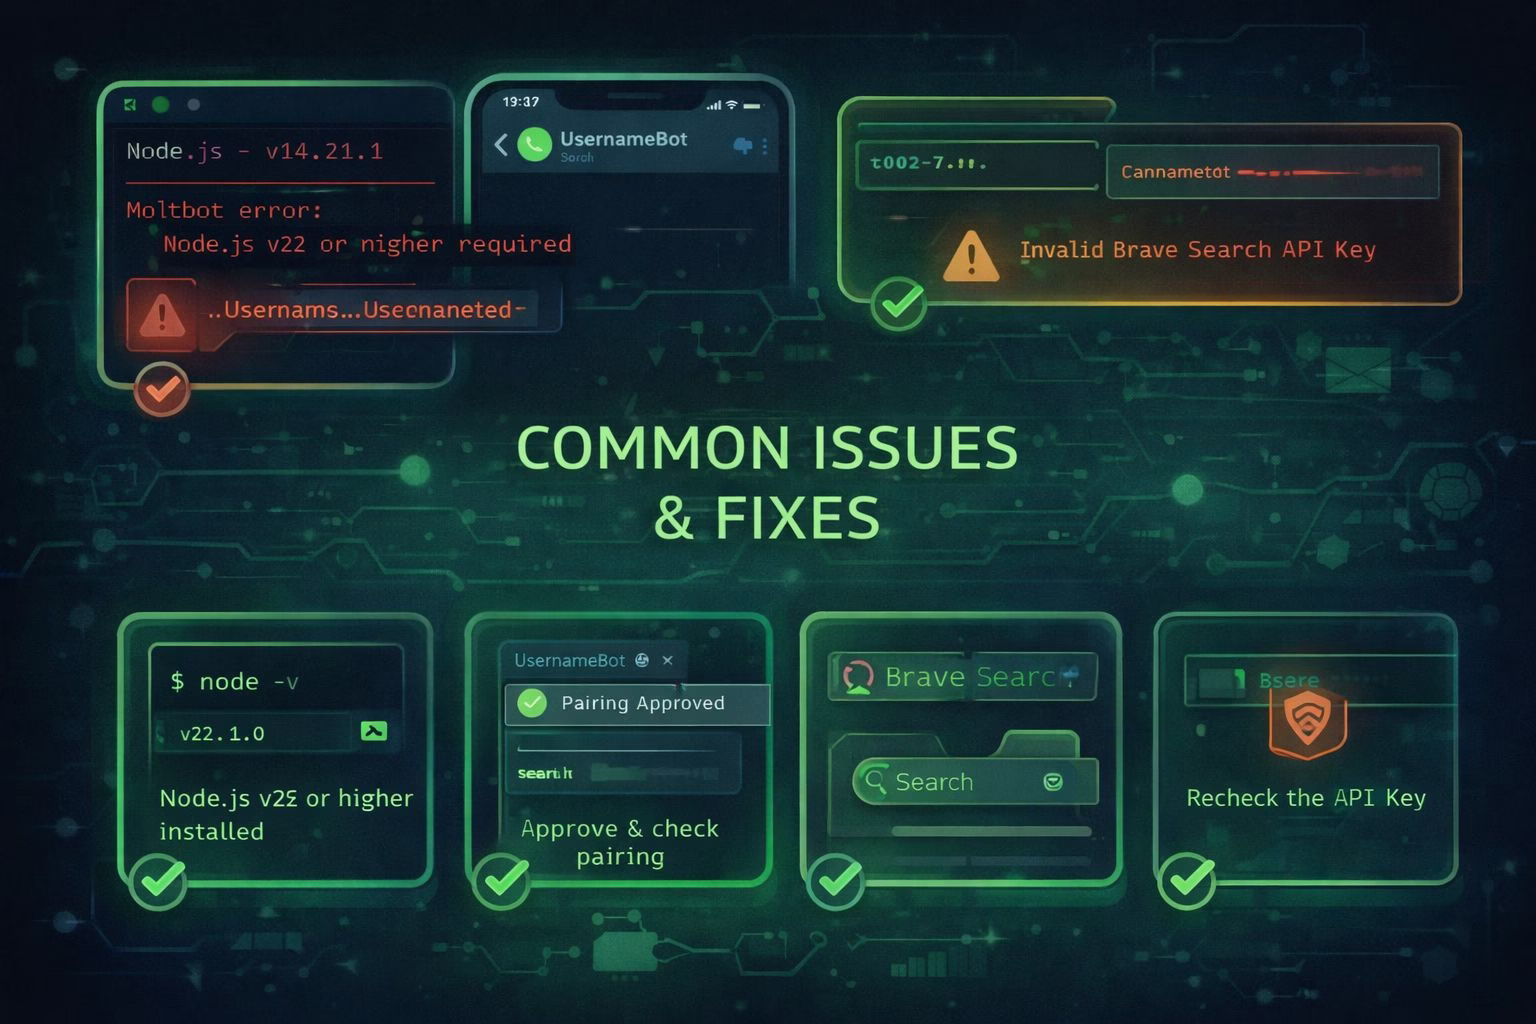
If Moltbot fails to start or exits during setup, confirm Node.js is v22 or higher and that you restarted the terminal after installing it. Old shells often keep the previous version in memory.
If Telegram messages do not reach Moltbot, the issue is almost always pairing related. Make sure:
The Telegram bot token pasted during onboarding matches the bot you are messaging
The pairing command was approved in the same terminal session
Moltbot is still running when you send the Telegram message
If browsing does not work or responses feel outdated, recheck the Brave Search API key.
A missing or invalid key silently disables live search and forces the agent to rely only on its model.
When Moltbot behaves erratically, stop it, restart the process, and avoid changing multiple settings at once. One change per restart makes it much easier to pinpoint what caused the issue.
A beginner workflow that works day to day
Moltbot works best when it is given ongoing responsibilities instead of one-off questions.
The key is assigning it a role and letting it operate continuously.
Start with one clear job. Do not stack tasks early. Stability comes first.
Example 1: Using Moltbot as a daily research assistant
Send a message like this in Telegram:
“Check for any new updates about AI agents every morning and summarize anything worth knowing.”
What happens next:
Moltbot browses using Brave search
It decides what qualifies as relevant updates
It remembers this task without being reminded
You receive periodic summaries instead of live chatter
This works because the task is recurring, scoped, and measurable.
Example 2: Monitoring a specific topic or site
Assign Moltbot something narrow and trackable:
“Watch for changes or new posts related to autonomous AI tools and alert me when something significant appears.”
Actionable result:
Moltbot scans related pages over time
It compares new findings with previous context
It notifies you only when there is a meaningful change
This avoids noise and keeps the agent focused.
Example 3: Using Moltbot as a persistent note keeper
Moltbot excels at memory across sessions.
Try this:
“Keep notes about Moltbot issues and fixes as we encounter them. Organize them by date.”
Over time:
The agent builds an internal troubleshooting log
You can ask it to recall past fixes
You avoid repeating mistakes or re-diagnosing the same issues
This is especially useful during early experimentation.
Example 4: Lightweight automation without scripts
Moltbot can handle simple follow-ups without formal automation.
For example:
“If I ask a technical question and you are unsure, research it and respond later when you have a confident answer.”
That instruction changes behavior permanently. The agent learns to pause, research, and return with better answers instead of guessing.
How to scale this workflow safely
Once the first task runs reliably for a day or two, add another. Keep tasks separate and explicit.
A safe progression looks like this:
One monitoring task
One research or summary task
One memory or logging task
Avoid assigning overlapping responsibilities early. Overlap causes confusion and polluted memory.
This approach turns Moltbot into a background operator instead of a reactive chatbot.
That distinction is what makes it genuinely useful over time.
Pro tip for safer and cleaner long-term use
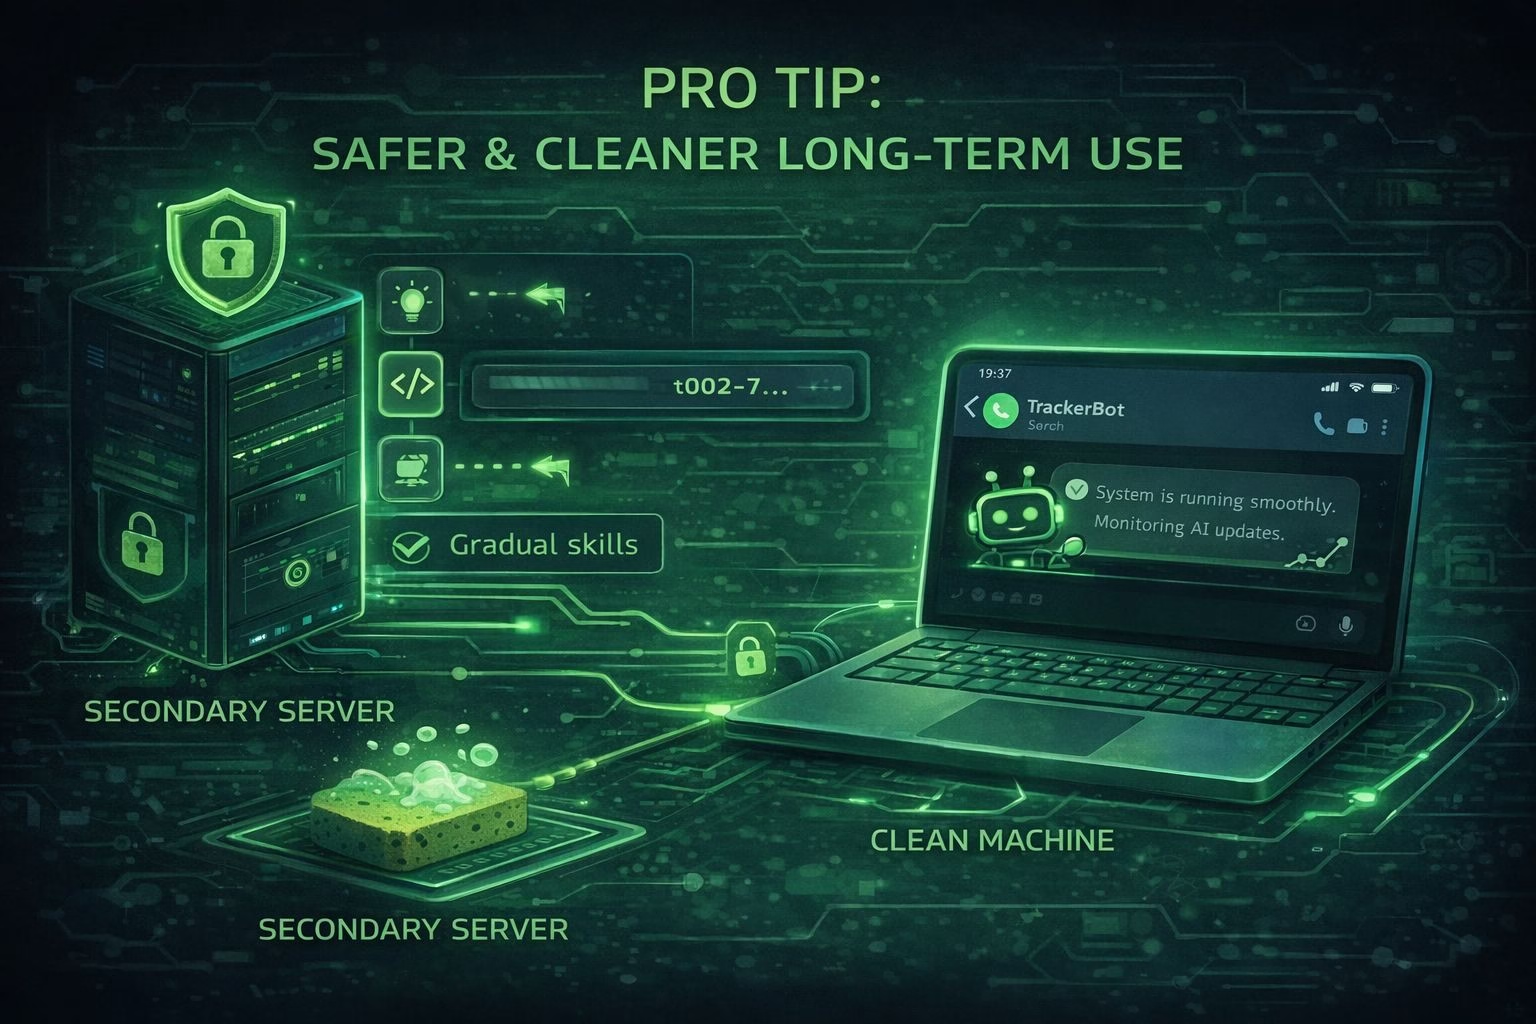
Install Moltbot on a secondary or freshly wiped machine if possible. This isolates the agent from personal files and reduces the risk of unintended access.
Add skills gradually instead of all at once. Each new capability influences how the agent learns and behaves over time.
A slower setup produces far better results than a rushed configuration.
Treat Moltbot like a system you train, not a tool you switch on. That mindset makes a noticeable difference in stability, usefulness, and trust.
What Moltbot should not be used for
Moltbot is powerful, but treating it like a general-purpose chatbot or a fully autonomous decision maker leads to poor results.
Clear boundaries keep it reliable.
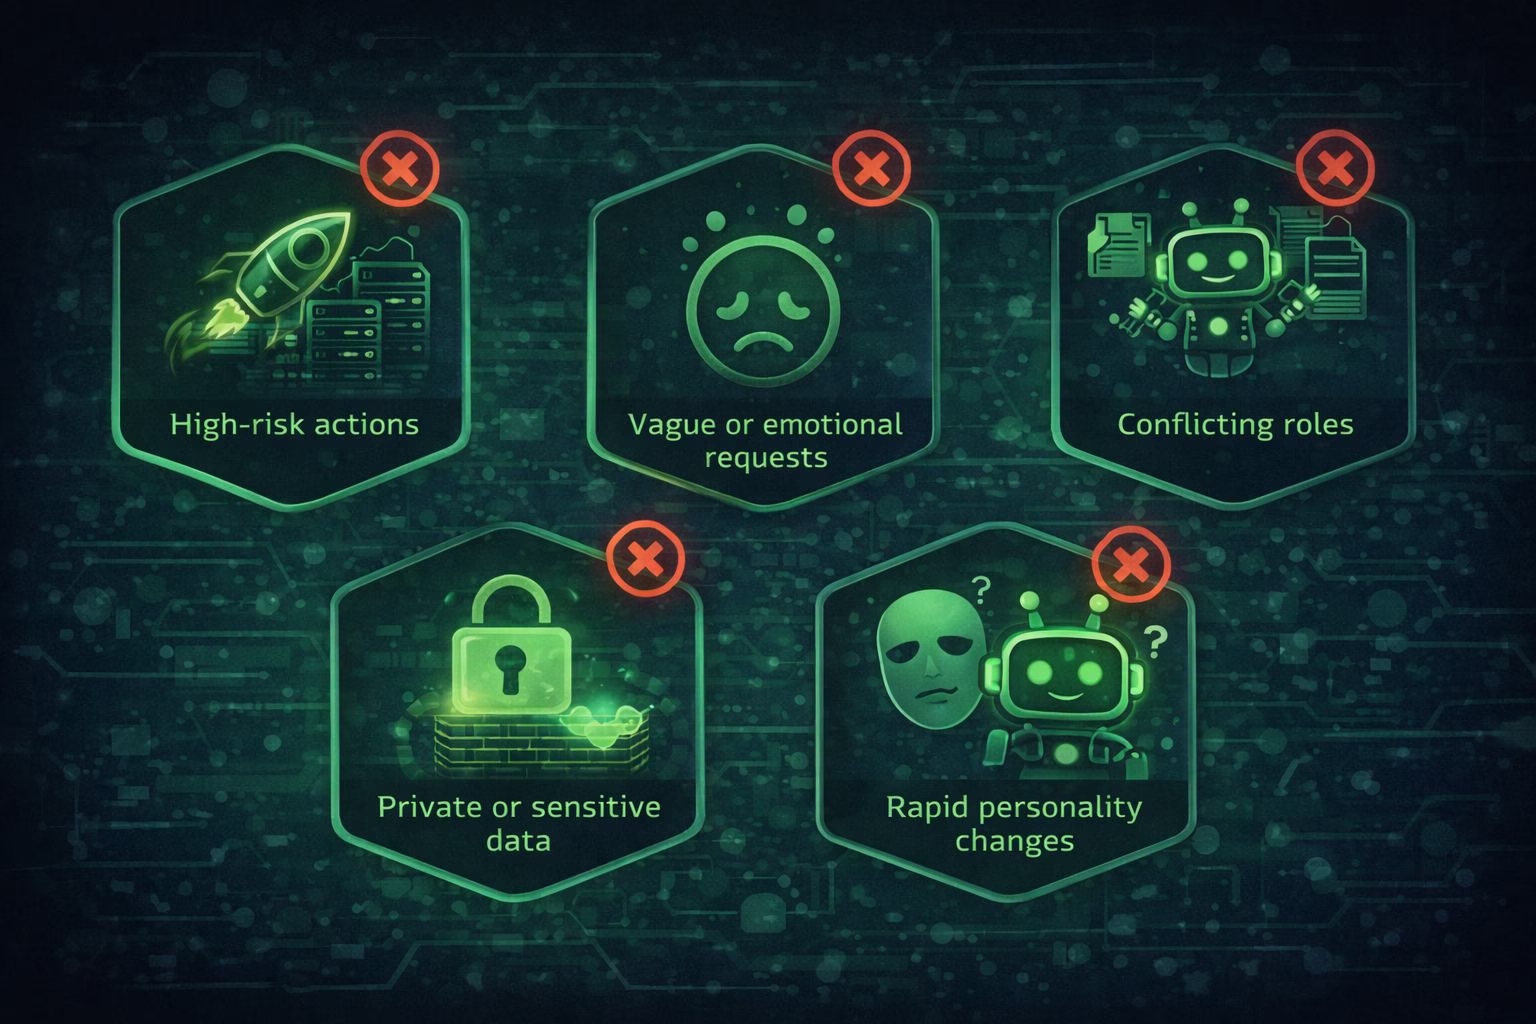
Avoid using Moltbot for:
High-risk actions without supervision
Do not let it deploy production systems, modify live databases, or make irreversible changes on its own. Moltbot works best as an assistant, not a final authority.Vague or emotional tasks
Requests like “just help me with stuff” or “figure things out for me” give it no stable direction. Ambiguity causes drifting behavior and messy memory.Multiple conflicting roles at once
Asking Moltbot to research, monitor, summarize, automate, and brainstorm from day one leads to diluted results. Focus beats breadth early on.Private or sensitive data handling
Avoid feeding it credentials, personal files, or sensitive information. Isolation is part of the long-term safety model.Rapid personality changes
Constantly redefining tone, behavior, or goals confuses learning. Small adjustments over time work far better than resets.
Think of Moltbot as a junior operator that improves with consistent structure. It performs poorly when treated like a magic box.
Checklist for setting up and running Moltbot cleanly
Use this as a quick reference once the tutorial is complete.
Initial setup checklist
Generate a Brave Search API key
Create a fresh AI model API key
Create a Telegram bot via BotFather
Install Node.js v22 or higher
Run Moltbot Quickstart onboarding
Enable Brave search and select Telegram
Complete the intro wizard
Pair Moltbot with Telegram using the pairing code
First day usage checklist
Assign one clear task only
Keep instructions short and specific
Let Moltbot run without constant prompts
Observe responses before adding new tasks
Restart only if behavior becomes inconsistent
Stable workflow checklist
One monitoring task
One research or summary task
One memory or logging task
Each task should be:
Ongoing
Narrow in scope
Easy to verify
Safety and maintenance checklist
Run Moltbot on a secondary or clean machine
Add skills gradually
Restart after major changes
Avoid overlapping responsibilities
Review memory occasionally for drift