Quick summary
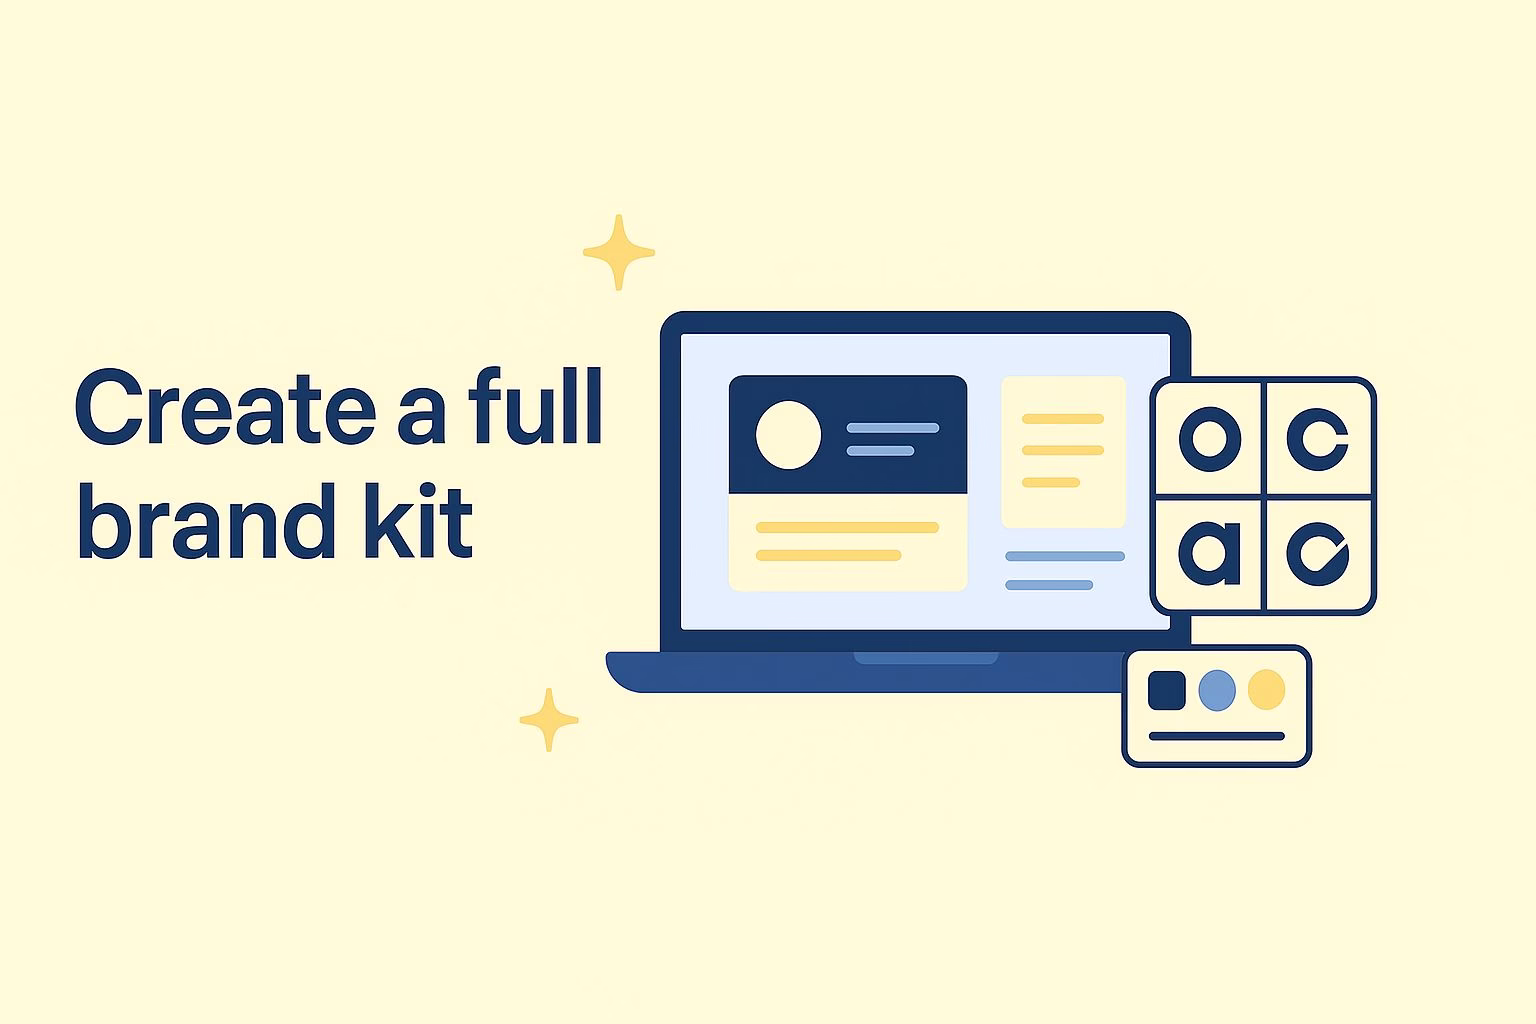
This tutorial shows how to create a full brand kit using Nano Banana Pro inside Google AI Studio.
- You learned how to start with a structured interview prompt to define your brand direction.
- You generated logo concepts, selected a direction, and created a complete logo system.
- You produced the remaining slides of your kit one by one and organized them inside Google Slides.
- You exported your final brand kit as a PDF and gained a repeatable pattern for consistent outputs.
Many small teams struggle to keep their visual identity consistent across platforms. Files get scattered, colors drift, and logos change from one project to another.
A brand kit solves that problem because it puts every asset in one place with clear rules for how everything should look. Nano Banana Pro makes this process far easier by generating the core pieces for you inside Google AI Studio.
This tutorial walks through each step so you can build a full kit without guessing. The workflow starts with a simple prompt that defines your business and audience.
You answer a few guided questions, then move on to generating logo options in a clean 2×2 grid. The tool can then create logo variations, a full logo system slide, and an outline for the rest of your kit.
You will assemble everything in Google Slides and end with a polished PDF you can share with clients or teammates.
The method is repeatable because Nano Banana Pro responds well to a set pattern that starts with an interview prompt, produces a single asset, then continues slide by slide.
Here is what we cover next:
- How to set the base prompt that defines your business and brand personality
- How to generate logo options and request variations
- How to produce the full set of slides for your brand kit
- How to assemble and export your final PDF
- How to repeat the prompt pattern for consistent results
How to set up the first prompt in AI Studio
Most people open Nano Banana Pro without a clear starting point, which leads to inconsistent outputs. A structured first prompt fixes this.
The goal is to give the tool enough detail to shape your entire kit while leaving room for follow-up questions.
Nano Banana Pro works best when it interviews you before generating assets. This ensures your business, audience, and tone are captured correctly.
You provide inputs that define your personality and what your customers care about. The answers guide every slide the tool produces later.
Follow these steps to begin:
Open AI Studio and enter this prompt exactly as written:
“I need a complete brand kit. Business: [NAME]. What we do: [ONE SENTENCE]. Target: [WHO + PAIN]. Personality: [3 ADJECTIVES]. Interview me with 3 to 5 questions, include tagline ideas.”Respond to the interview questions so the model learns your direction.
Once the interview is complete, continue to the next stage of asset creation.
This first step sets the tone for your kit and leads to more consistent design results.
How to generate and refine logo options with Nano Banana Pro
The logo generation stage builds the foundation for your entire kit. Nano Banana Pro can create multiple concepts in one layout, which makes comparison simple.
After reviewing the options, you request variations so the tool can create a full system that includes secondary versions and monochrome formats.
This stage depends on a clean, direct prompt. The 2×2 format gives you four options without overwhelming you.
When you pick your favorite, the follow-up request expands it into a complete set of brand-ready assets that will later appear in your deck.
Follow these steps:
Prompt Nano Banana Pro with:
“Use Nano Banana Pro to generate 4 logo options in a 2×2 grid.”Review the four concepts and choose the strongest direction.
Request the variations needed for a proper system:
Secondary logo
Monochrome black version
Monochrome white version
Icon only versionSave the chosen assets so you can place them into your slide deck later.
This prepares you for the upcoming steps where Nano Banana Pro generates the rest of the kit slide by slide.
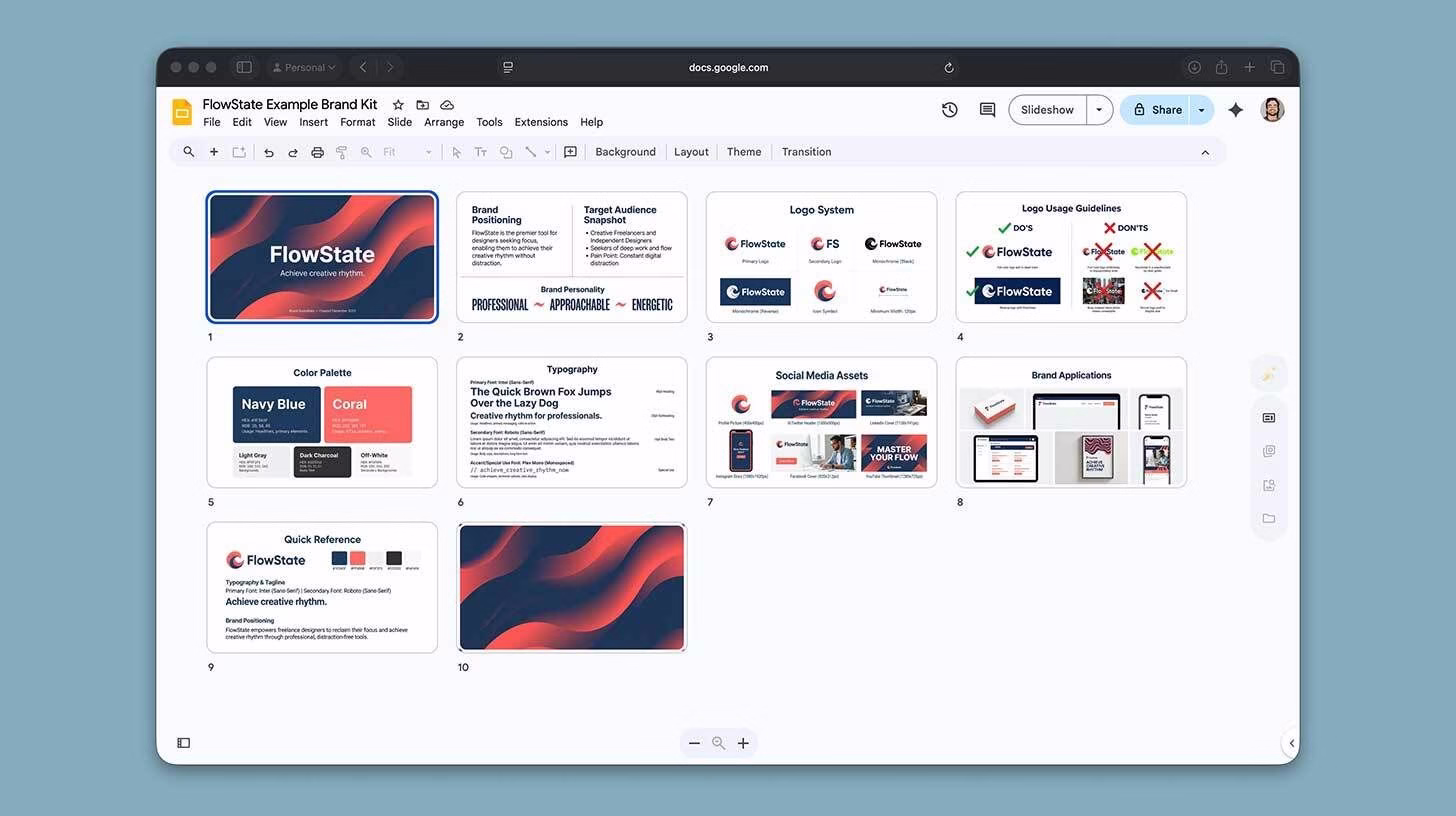
How to generate the remaining slides of your brand kit
Once your logo system is ready, Nano Banana Pro can build the rest of your brand kit through a simple request.
The tool creates the structure first, then produces each slide one at a time. This keeps the output organized and prevents missing pieces such as color palettes, typography rules, or social templates.
The outline acts as a checklist. You always know which slide comes next and you can confirm the visual direction before moving forward.
Working in this sequence also keeps your assets consistent because every part of the kit is produced from the same session.
Follow these steps:
Prompt Nano Banana Pro with:
“Generate the logo system slide for my brand kit deck.”After it creates that slide, continue with:
“Outline the remaining slides for my brand kit.”Ask it to generate each slide in sequence. This usually includes color palettes, typography, social media examples, brand usage rules, and quick reference sections.
Save each output so you can assemble them later inside Google Slides.
This step produces all core components you need for a complete kit.
How to assemble your brand kit and export it as a PDF
Google Slides is ideal for putting your kit together because it keeps every asset in one place and makes layout adjustments simple.
You create a clean deck, drop your generated slides in the correct order, and prepare your final export file. The method mirrors how agencies deliver brand guidelines.
The structure you built with Nano Banana Pro makes this stage fast. You already have the logo system, color palette, typography, and application slides.
You only need to arrange them and adjust spacing or alignment where needed.
Follow these steps:
Open Google Slides and create a blank deck.
Import or paste each asset generated by Nano Banana Pro into individual slides.
Organize the slides into a logical flow. A common order is: cover page, brand positioning, logo system, guidelines, color palette, typography, social media assets, and applications.
When your layout looks correct, export the deck as a PDF for sharing or printing.
This completes your brand kit and gives you a consolidated reference for future design decisions.
Pro tip for consistent Nano Banana Pro outputs
Consistency matters when you build multiple brand kits or return later to update an existing one. Nano Banana Pro responds best when you follow the same workflow pattern each time.
The pattern creates a stable loop where every output is based on your previous answers and the tool never jumps ahead or skips elements.
The sequence also helps when you want predictable results across different projects. You start with clarity, generate a single asset, map out what comes next, then produce everything step by step.
This keeps your visuals aligned and prevents changes in tone or style across slides.
Use the following pattern each time you work with Nano Banana Pro:
Begin with the interview prompt so the model learns your direction.
Generate one asset, usually the first logo or the logo system.
Ask Nano Banana Pro to outline the remaining assets or slides.
Generate each item in the outline one at a time.
This loop repeats cleanly and gives you steadier outputs for every brand kit you create.