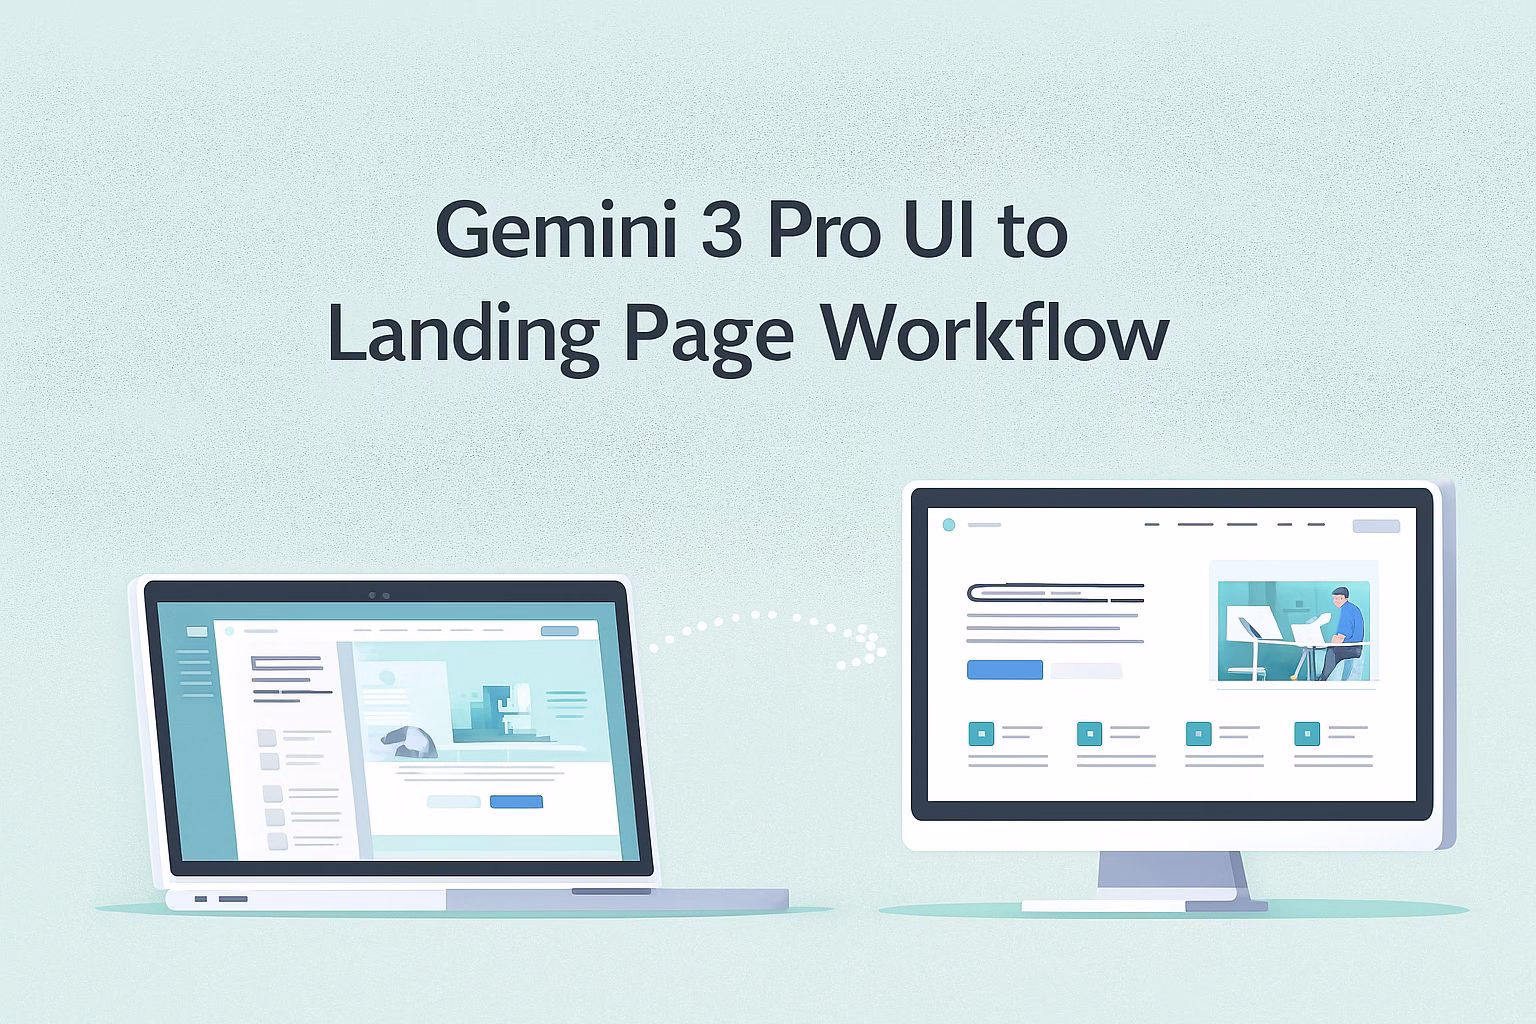
Landing pages used to mean long chats with designers and a lot of front-end tweaking. Now we can grab a great UI from the web, record a scroll, and let Gemini 3 Pro do the heavy lifting.
The model can watch the video, understand the layout and motion, then turn that into a working landing page that feels like a real product site, not a generic AI template.
The method here follows a simple loop. First, we grab UI inspiration from a place like Dribbble or Behance.
Then we record a smooth scroll, send it to Gemini 3 Pro with a specific prompt, and let it write a detailed design spec. After that, we adapt the spec to our own product and ask Gemini to build a live interactive landing page.
The final step is to export to a coding tool for deployment.
The nice part is how repeatable this feels once you try it a few times. You can test different layouts just by changing the reference video.
You can keep the sections and structure you like, swap colors or typography you do not like, and still ship a solid page quickly.
This works well for solo builders, agencies, and teams that want more experiments with less hand-coding.
Here is what this tutorial covers:
How to capture the right kind of UI video for Gemini 3 Pro
How to prompt Gemini so it describes the UI in developer-ready language
How to turn the analysis into a clean markdown spec
How to adapt the spec to your product and generate a live landing page
How to export the result to tools like Cursor, Bolt, or Replit for deployment
1. How to pick UI inspiration and record the scroll
Strong outputs start with strong references. For this workflow, we do not rely on static screenshots.
Gemini 3 Pro works with a screen recording of a full page scroll, because the motion reveals spacing, transitions, and how sections relate to one another.
The first step is to pick a polished design that fits the mood you want. Dribbble and Behance are good sources for concept UIs, while live SaaS sites show patterns already tested in the wild.
Clean sections, readable typography, and visible animations all help. Long, cluttered pages or chaotic layouts tend to confuse both humans and models.
Once you choose a page, record a smooth vertical scroll from top to bottom. No jumps, no fast flicking, just a steady movement so Gemini can track each section as it appears.
The scroll should show the hero, feature blocks, testimonials, pricing, and footer, plus any animations or hover effects that play as you move.
The more the video reflects the real user journey, the better Gemini can recreate it.
To keep this step repeatable:
Pick a UI you genuinely like on Dribbble, Behance, or a live SaaS site.
Start recording before the hero loads and scroll slowly through the whole page.
Save the video file with a clear name so you can reuse it later for other prompts.
2. How to prompt Gemini 3 Pro to study the UI
Once you have the scroll recording, Gemini 3 Pro becomes your UI analyst. The goal is to give it a prompt that makes it describe the design like a front-end lead handing specs to a developer.
You are not asking for code yet. You are asking for a deep breakdown of layout, colors, typography, animations, and interactions.
Upload the video with thinking mode enabled, then send a prompt along these lines:
“Study this video and write a detailed prompt describing the UI in depth—layout, colors, typography, animations—then turn it into instructions for a developer.”
That single line pushes Gemini to move beyond vague design notes and produce something that a builder can act on directly.
Gemini will usually respond with a long description of each section. It will describe the hero layout, how the headline sits next to a visual, which colors dominate the palette, and how buttons behave.
It can also describe scroll-based animations and subtle movements that a static screenshot could never communicate. That description is what we turn into our master prompt.
To prepare the spec for later steps, ask Gemini to convert its entire analysis into markdown format. This is because markdown keeps headings, bullet points, and structure intact when you copy the output into a new chat or a handover document.
At the end of this phase, you should have:
A detailed markdown description of the UI layout, colors, typography, and animations.
Clear developer style instructions that describe how each section should behave.
A reusable prompt you can paste into a new Gemini chat for actual page generation.
3. How to adapt the UI spec to your own product
Once Gemini 3 Pro gives you the full markdown spec, the next step is shaping it around your own offer.
The structure you extracted from the UI video becomes a template that you can reuse for any product. The idea is to keep the layout and motion but replace the content so the final page feels original instead of copied.
I start by going through each section in the markdown and swapping anything tied to the original design. Company name, product concept, tone of voice, and key value points all get replaced.
If the reference site had SaaS features and you are building a mobile app landing page, you only change the text and assets while keeping the spacing, typography hierarchy, and section flow.
This still preserves the polished feel of the reference UI.
After editing the markdown to match your product, you copy it into a fresh Gemini 3 Pro chat and add one line:
“Create a high fidelity interactive landing page based on this design spec and show me a live preview.”
This is the moment when Gemini turns your edited spec into a complete page.
If something feels off in the first preview, you can iterate on color accents, section backgrounds, animations, or spacing.
Small changes produce quick visual variations, which help you dial in the brand feel before exporting anything.
To keep this step simple:
Replace brand name, text blocks, and images inside the markdown spec.
Keep layout, spacing, and animations unless they clash with your product.
Paste everything into a new Gemini chat with the live preview request.
4. How to export the landing page to your builder of choice
After you are happy with the live preview, the final step is moving the page into your development workflow. You may use the following export-friendly environments: Cursor, Bolt, and Replit.
Each one can take the generated files and let you continue refining the project with hands-on control.
Cursor feels closest to a full code editor and works well if you want version control and long-term maintainability.
Bolt focuses on fast iteration and preview-driven building.
Replit is good for beginners because everything runs in the browser, and deployment takes just a few clicks.
The choice depends on how much control you want over code and hosting.
Before exporting, ask Gemini to package the page structure, assets, animations, and scripts in a clean folder. When you open that folder inside your editor, you usually find a ready-to-run project with the landing page already functional.
The export step is what makes this workflow practical for real production environments instead of staying as a one-off AI preview.
Keep the exporting workflow stable by:
Asking Gemini to package the project files clearly.
Importing the folder into Cursor, Bolt, or Replit.
Running the project locally and checking animations, spacing, and fonts.
Where this workflow becomes useful in real projects
This method gives you a fast way to turn design inspiration into something you can ship. The loop stays simple: record a scroll, let Gemini build the spec, adapt it to your product, then export the working page into your editor.
The speed makes it practical for quick experiments, client drafts, or full product launches.
Teams that rely on consistent layouts also get a repeatable system. You can recycle the same structure across multiple pages and still keep your brand identity intact.
We use a similar workflow at RoboRhythms.com when testing layouts before committing to a full redesign.
Once you try this process a few times, it becomes a reliable way to test ideas without spending days on manual design. It keeps creativity high while keeping the technical work light.